A 7-Day Guided Inventory to Size Your First Battery
Embarking on your first off-grid battery install? This week-long process will guide you from a simple energy audit to a starter battery size you can trust. You’ll log real usage, build a load curve, and translate that into a practical battery size using a downloadable template and worked example calculations.
Every DIY solar project begins with understanding what you actually run and for how long. The approach below stays practical: record what you use, estimate runtime, and total daily energy in watt-hours (Wh). By the end of day seven you’ll have a defensible number for your first battery plus room to adjust for weather, solar hours, and future loads.
Day 1 — Gather your typical daily energy tasks
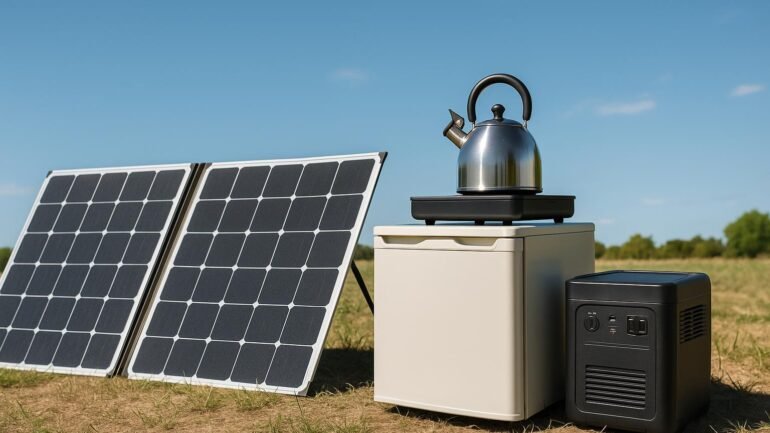
Make a simple list of the major loads you run each day. Common candidates include refrigeration, lighting, laptops/phones, fans, pumps, and cooking devices. Focus on what you actually use, not every lamp in the house. A lean list makes the math reliable and the template easier to fill.
Day 2 — Estimate runtimes and power levels
For each item on your Day 1 list, estimate how many hours you use it and its typical draw. Examples: fridge cycling around 100 W when running; lights 10–50 W per fixture; laptop charging 60–90 W; water pump 120–150 W. Sum these to an estimated daily energy in Wh.
Pro tip: keep your numbers conservative for planning; you can tighten later after you collect real data.
Day 3 — Measure actual daily energy
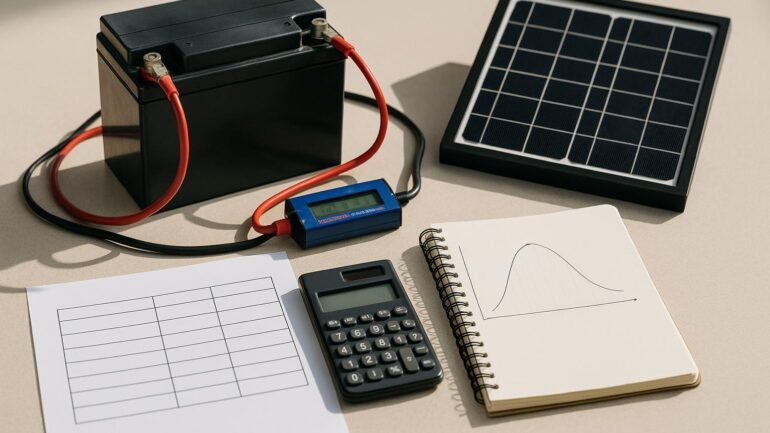
Use a watt-meter or your inverter’s energy log to capture actual usage for one full day. If you’re measuring with a temporary meter, log wattage for each device and multiply by hours used. This yields a realistic Wh/day figure you can trust.
Day 4 — Build a real-world load curve
Plot the hourly (or 30-minute) energy use to see when you peak and when you have charging headroom. A simple curve will show you how the battery will be stressed during peak loads and how solar input fits around those peaks. The goal is a daily total that aligns with the measured Wh/day.
Day 5 — Convert to a starter battery size
Take your Wh/day total and apply a few safety margins. For off-grid use, most designers pick a battery bank that provides multiple days of autonomy and limit deep discharges. A practical equation looks like this: Ah = (Wh/day × autonomy_days) ÷ (system_voltage × DoD).
Example: if you plan 2 days of autonomy and you operate at 12 V with a 50% DoD, a 600 Wh/day usage becomes: Ah = (600 × 2) ÷ (12 × 0.5) = 1200 ÷ 6 = 200 Ah. You’d then pick a battery bank around 200–250 Ah to give you a cushion. The downloadable template will run these numbers for you.
Want a quick reference? See the starter battery guide for practical battery sizing rules for common chemistries.
Day 6 — Add headroom and plan for growth
Always add headroom for cloudy days, seasonal load increases, and efficiency losses. A common practice is to target 1.5–2× your measured Wh/day as usable capacity, then size the bank for that DoD. If you expect new loads like a freezer or additional electronics, account for them now rather than later.
For more scenario-driven sizing ideas, consider real-world designs in our start-small solar case studies.
Day 7 — Review, fill the template, and compare options
Finish the template with your numbers, then compare battery options from affordable starter banks to larger packs. If you’re sizing a compact system for an RV, you might find useful tips in our RV sizing tips article.
Revisit your load curve after a few weeks of real data and adjust the plan. The goal is a practical, install-ready battery size you can actually use.