Why a weekend solar install makes sense for home and RV
A weekend solar install offers a practical path to energy independence without the time commitment or cost of a full professional build. It lets you learn by doing, move a compact system between a home and an RV, and establish a solid starter setup you can expand later. This approach aligns with a weekend solar install plan and serves as a practical DIY solar system for home and RV users.
Planning for a 3-day build: needs, sizing, and safety
In this planning phase, you’ll estimate energy needs, size the array and components, and establish safety guidelines to guide a safe, efficient three-day build.
Estimating your energy needs
Start with a realistic daily load. List essential devices (refrigerator, lights, laptop, fans) and note their wattage and runtime. Multiply by hours per day to estimate your daily energy use in kWh. Use a simple calculator or spreadsheet, and build in a buffer for weather or extended cloud cover. This step keeps your three-day plan focused and helps ensure your DIY solar system for home and RV is properly sized.
Sizing the solar array and components
Based on your daily energy needs, determine panel wattage, battery capacity, and inverter size. A practical starter setup might be 300–600 W of solar, a 1–2 kWh battery bank for RV or compact home use, and an inverter sized for peak loads. Consider PWM vs MPPT charge controllers, wiring lengths, losses, and safety margins. Plan for future expansion by leaving room for more panels or a larger battery bank.
Tools, materials, and safety gear
With your plan in hand, assemble a compact toolbox and safety gear to keep the build smooth and safe.
Essential components: panels, charge controller, battery, inverter
Choose durable solar panels, a compatible charge controller, a safe battery type (lead-acid or lithium), and a robust inverter. For a weekend DIY project, look for starter kits that simplify wiring with clear labeling and built-in protections. If you’ll transport the system or use it across locations, consider a portable solar power setup designed for home and RV use.
Mounting hardware, wiring, fuses, and cable management
Plan panel mounting, cable routing, and protective devices. Use appropriate gauge wires, weatherproof enclosures, fuses near the battery, and cable management accessories to keep lines organized and accessible. Label all cables for future maintenance and safety checks.
Step-by-step: Day-by-day plan
Follow this practical day-by-day plan to stay on schedule and keep safety front and center.
Day 1 – Assessing, mounting, and basic wiring
Survey available mounting space, position panels for optimal sun exposure, and install mounting hardware. Run low-voltage wiring from the panels to a central junction or combiner, keeping runs tidy and accessible. Leave space near the battery and charge controller for later connections. Do not energize the system until the wiring is complete and all safety checks pass.
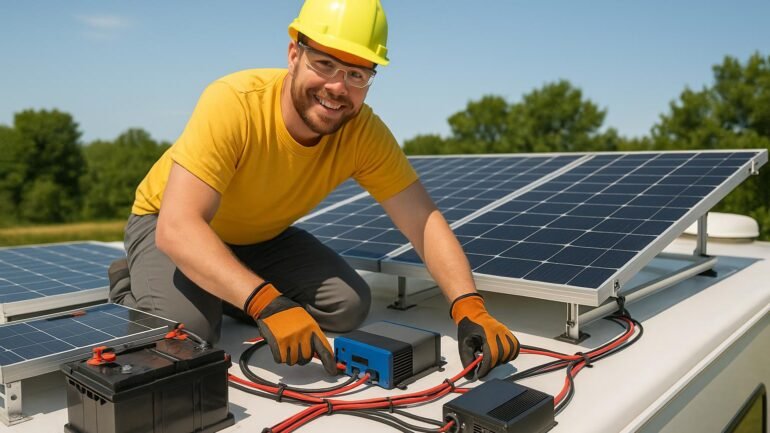
Day 2 – Battery bank, charge controller, and inverter wiring
Assemble the battery bank with appropriate safety disconnects. Connect the battery bank to the charge controller, then wire the controller to the inverter. Verify correct polarity, secure all connections, and place fuses near the battery. Keep the system isolated during this step until you’re ready to test.
Day 3 – Commissioning, testing, and optimization
Perform a final safety check, power up, and test with a small load. Measure battery voltage before and after sun exposure, verify inverter output, and confirm protective devices operate correctly. Adjust cable routing for easier access and plan for future expansion if you want to add more panels or a larger battery bank.
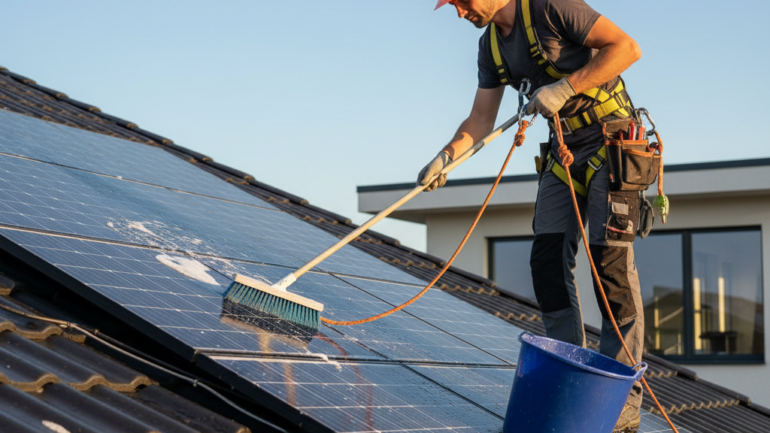
Troubleshooting, maintenance, and next steps
Common issues include insufficient sun exposure, loose connections, or undersized cables. Regular maintenance includes cleaning panels, checking connections every 6–12 months, and upgrading components as your needs grow. When you’re ready, you can expand with additional panels, a larger battery bank, or a higher-capacity inverter to enable full home-off-grid capability.