Designing a Moveable Solar Backup System You Can Take Anywhere
For renters, a portable solar backup can provide essential power without permanent installations. This guide shows how to assemble a compact, plug-and-play kit that travels with you, stays lease-friendly, and scales as needs grow.
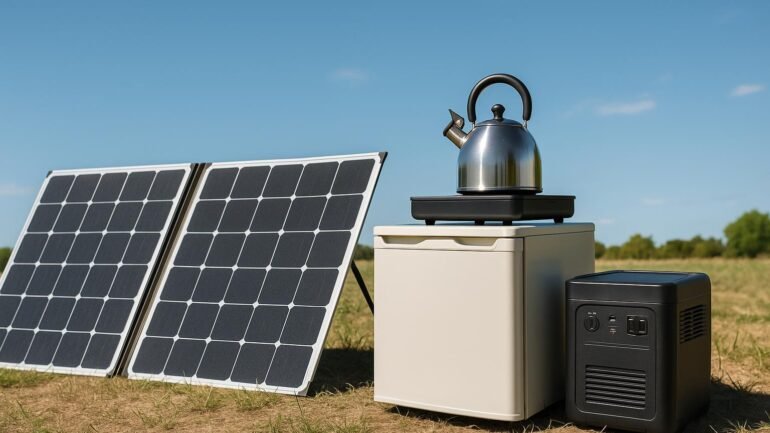
Key idea: keep it light, modular, and safe. Start with components that can be unplugged and moved between spaces or even between vehicles. With the right selection, you can power a small fridge, chargers, and lighting for hours during outages or while camping off-grid.
Why a renter-friendly portable backup matters
In rental situations, you typically can’t mount heavy gear to walls or modify electrical circuits. A portable kit avoids drilling holes, and a plug-in battery/inverter setup minimizes risk while letting you meet temporary power needs quickly. You’ll benefit from a kit that fits under a bed, in a closet, or in the back of a car or RV.
Core components you can mix and match
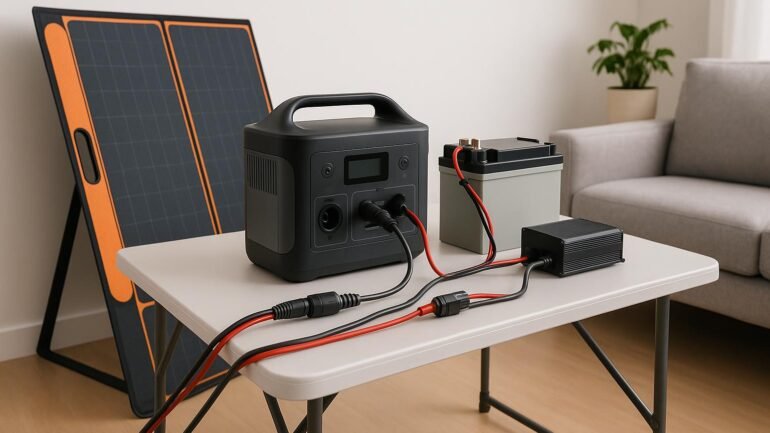
- Foldable solar panel or compact panel array for daylight harvesting.
- Portable power station or LiFePO4 battery pack for stored energy.
- DC-AC inverter to run household devices (watch wattage).
- Charge controller to manage panel-to-battery charging safely.
- Protective devices such as inline fuses or a small breaker to guard circuits.
- Weatherproof connectors and cabling for safe outdoor use.
- Portable mounting options like a fold-out stand or lightweight table to stabilize gear.
In practice, aim for a kit you can pack into a single bin or backpack. For example, a 100-200W panel pair, a 20-40Ah LiFePO4 battery, a 300W inverter, and a basic MPPT controller can power lights, a laptop, and small appliances for several hours in calm weather.
Lease-friendly installation tips
- Use temporary, non-permanent mounting: freestanding stands, adjustable tripods, or table tops.
- Keep all cords and connectors above-grade and organized to avoid tripping or damage.
- Label circuits clearly and limit the kit to a single, simple branch to reduce risk.
- Inspect batteries and cables regularly for heat, swelling, or wear.
For more on portable, budget-friendly backups, see DIY generator guide and the 48-Hour Sprint post. If you’re curious about compact setups in small spaces, check out Urban Micro-Backups.
Sizing and safety basics
Start with a simple load list: 2–3 essential lights (10–15W each), a laptop charger (60W), a small fridge (if you need it, around 50–100W running), and a USB-C power bank as a buffer. A safe target is a small system in the 100–200W PV input range and a 20–40Ah battery, with a fused distribution pathway and an over-current protection device.
Always follow manufacturer specs for bypass diodes, fuses, and breaker ratings. If you’re unsure, start small and test gradually rather than maxing out the kit on day one.