Under-$300 Solar Starter: Quick, Reliable Power for a Shed, Camper, or Tiny Cabin
This practical guide shows how to power a shed, camper, or tiny cabin with a dependable solar starter that stays under $300. It covers cost-conscious component choices, a straightforward build, and essential safety checks. Perfect for DIY homeowners and RV owners who want reliable, expandable solar without breaking the bank.
Why a $300 starter powers small spaces
- Low upfront cost that fits budget-minded projects
- Modest yet reliable power for lighting, USB devices, fans, and small electronics
- Scalable design: add panels, more battery capacity, or a bigger inverter later
Whether you’re wiring a shed, preparing a camper, or outfitting a tiny cabin, a well-chosen starter kit delivers consistent power without overspending.
Choosing budget-friendly components
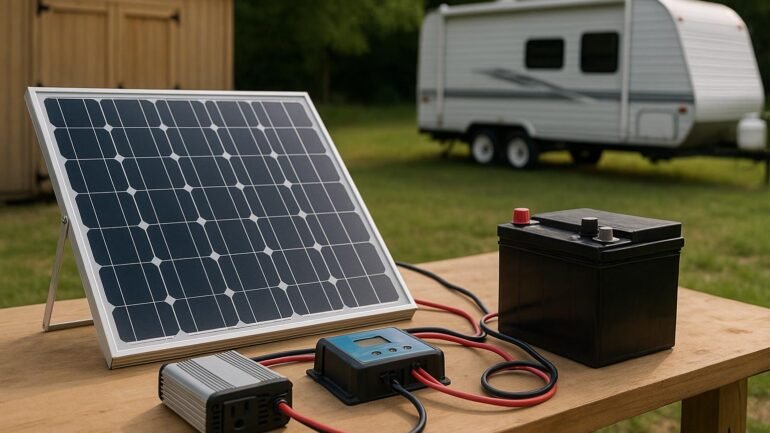
Plan around four core pieces: panel(s), a 12V battery, a charge controller, and an inverter. With careful selection, you can build a solid system under $300.
Budget solar panel options under $100: what to expect
- Common sizes: 60–100W panels that fit on a shed roof or trailer awning
- Types: polycrystalline (often cheaper) or monocrystalline (higher efficiency)
- Expect durable frames, basic MC4 connectors, and manageable weight for DIY mounting
Budget battery choices and safety considerations
- Options: sealed AGM lead-acid batteries or affordable LiFePO4 packs when you find a good deal
- Safety: keep batteries in a ventilated, dry area; never mix chemistries in the same bank
- Size: aim for 1–2 × 12V batteries for basic loads; larger banks for more capacity
Inverter and charge controller sizing for basic loads
- Charge controller: choose one that matches panel rating (e.g., 10–20A for a 100W–200W array)
- Inverter: 300W–500W pure sine wave inverter covers lights, chargers, small fridge, and modest loads
- Wiring and fusing: include appropriate fuses and wire gauges to handle expected current
Step-by-step build guide: from unpacking to first test
Follow this simple sequence to assemble and test your starter kit safely.
Assembly checklist and wiring basics
- Unpack components and verify parts against the bill of materials
- Mount the solar panel securely in a sunny, unobstructed location
- Connect the charge controller to the battery bank first, observing positive and negative polarity
- Connect the panel to the controller’s solar input, respecting polarity
- Attach the inverter to the battery with a proper fuse and secure wiring
- Power up the system and confirm LED indicators on the controller and inverter
Safety tips and common mistakes
- Always disconnect the panel when working on wiring to avoid shocks or sparks
- Never connect battery terminals in reverse; double-check polarity before powering
- Use fuses and proper gauge wiring; keep cabling organized and away from moisture
- Avoid draining the battery below the recommended depth of discharge
Testing, maintenance, and expansion planning
Test the system after initial setup and periodically monitor voltage, current, and battery health. Plan for gradual expansion as needs grow: add more panels, a larger inverter, or extra battery capacity to support higher loads while keeping costs predictable.