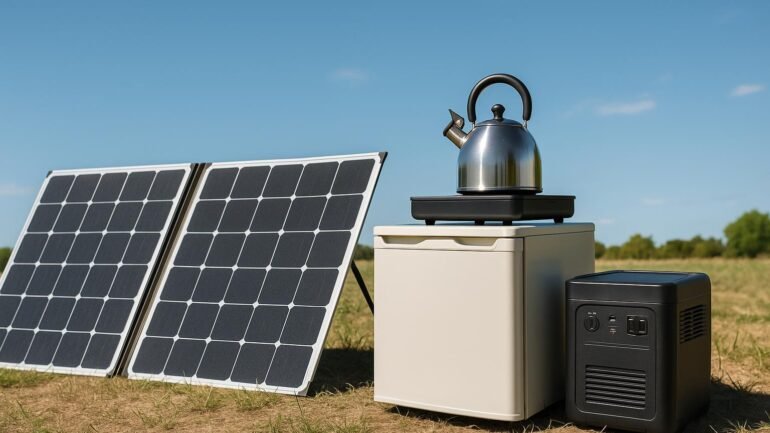
Why winter temps matter for starter solar systems
Winter introduces cold battery temperatures, reduced panel output, and frost-prone wiring that quietly undermines reliability. Understanding these factors helps you apply simple tweaks to keep energy flowing when you need it most.
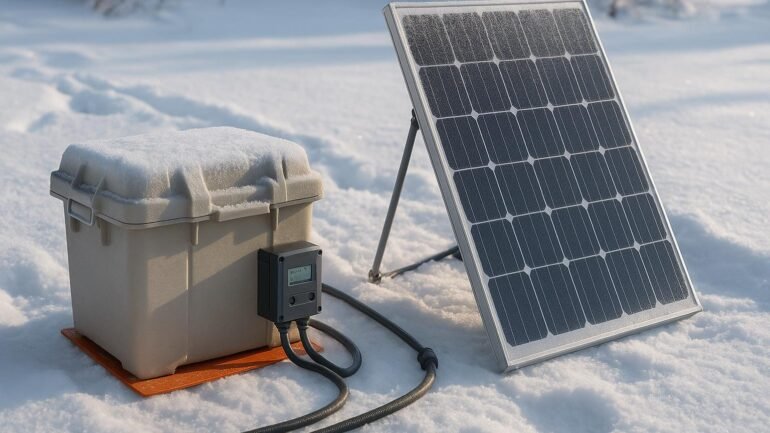
Battery temperatures in winter
Batteries don’t behave the same in cold as in warm weather. When temps drop, three effects stand out:
- Capacity falls: cold chemistries store less usable energy, so full charge appears smaller than in warmer conditions.
- Internal resistance rises: more energy is wasted as heat inside the battery, reducing available current.
- Charging becomes harder: chargers may throttle current to protect the cells, extending recharge time.
Chemistries differ: lead-acid and flooded batteries are particularly sensitive to cold and sulfation if kept partly charged. LiFePO4 tolerates cold better but still loses capacity and can be damaged if charged at freezing temperatures without proper management.
What you can do:
- Store batteries in a sheltered, insulated space whenever possible (an insulated cabinet or battery box with a lid works well).
- Use a battery heater or thermal wrap in climates that regularly dip below freezing. A low-watt heater can stabilize temperature and protect capacity.
- Keep a minimum state of charge in winter (target above 50% where feasible) to preserve capacity and minimize deep-discharge risk.
- Monitor temperatures with a sensor connected to your battery monitor so you can adjust charging strategy as temps fall.
Panel performance in cold weather
Panels can act differently in cold conditions. Cool cells can raise Voc, but light levels and frost can cut current and overall power. Key winter factors include:
- Voltage behavior: cold cells can increase Voc; current drops if light is scarce.
- Snow and frost: snow/ice blocks sunlight, causing significant output losses until cleared.
- Sun angle: winter sun sits lower in the sky, so a small tilt adjustment can boost exposure.
Practical steps to maximize winter panel performance:
- Keep panels clear of frost and snow with a soft brush or plastic scraper; avoid metal tools that can scratch coatings. Light frost can melt in sun; remove heavier snow promptly.
- Check for shading from branches or nearby structures and trim or re-route as needed during winter.
- Clean gently with lukewarm water or mild soap; avoid harsh cleaners or hot water that could damage coatings.
- Monitor panel temperature and performance, using voltage/current data to ensure cold gains aren’t offset by shading or soiling.
- Where possible, slightly adjust tilt to better suit the lower sun path in winter.
Safe wiring and frost hazards
Wiring is vulnerable to moisture, frost, and condensation. The goal is to keep all wiring dry, protected, and rated for winter conditions.
- Use outdoor-rated cables and enclosures with weather and cold ratings; choose connectors designed for freeze/thaw cycles.
- Seal and protect connections with grommets, waterproof connectors, and dielectric grease to reduce corrosion and arcing risk.
- Keep splices indoors or in weatherproof junction boxes with proper sealing and strain relief.
- Secure cables to resist movement from wind and snow; use cold-rated clips, conduits, or ties.
- Verify fusing and protections: DC fuses and controller protections should be rated for outdoor/cold use and proper derating for damp conditions.
- Avoid exposed splices near ground moisture; route cables high or through protective conduits.
Ensure your charge controller is rated for cold operation and that temperature derating settings are configured. A controller capable of reading battery temperature and adjusting charging current helps protect both battery and panel system in winter.
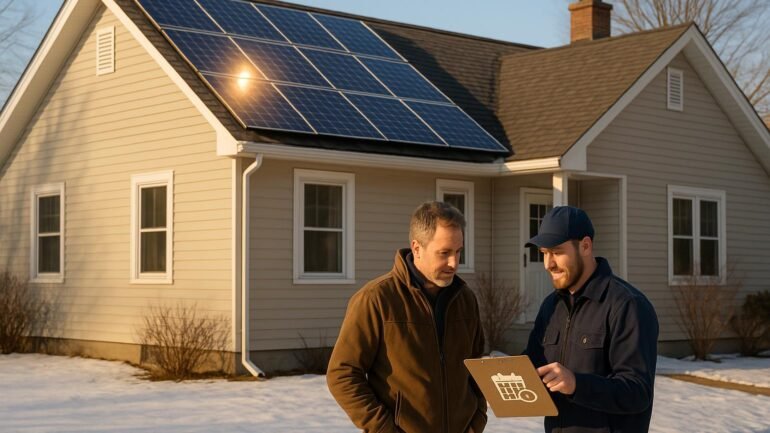
A simple winterization routine to preserve battery life and energy production
Adopt a straightforward winterization routine to catch issues early and maximize output without overhauling your system. Here’s a practical, repeatable plan you can follow this season.
- Inspect and seal: on a dry, above-freezing day, check wiring and seals for cracks, loose connections, and moisture; replace or reseal as needed.
- Inspect the battery box: check for drafts, moisture, and insulation gaps; improve insulation as needed.
- Test battery health: measure resting voltage and State of Charge; if capacity is low or voltage sags under load, schedule a top-up charge.
- Clean panels: when frost-free, remove dirt or salt spray; clean with mild solution and rinse to avoid micro-scratches.
- Clear frost and snow daily: remove frost/snow and ensure no ice bridging on panels or mounts.
- Check tilt and alignment: adjust if possible to maintain winter sun exposure.
- Verify cable routing: ensure cables remain protected from moisture and wear; re-route away from sharp edges or damp surfaces.
- Test under load: run a short sunny-day load test; confirm charging current and voltage are healthy.
- Document and schedule: log readings and anomalies; plan a mid-winter check.
- Snow and frost routine: after heavy snowfall, remove snow and recheck seals to prevent moisture during thaw.
Following this winterization routine helps preserve battery life and energy production—and provides fewer surprises when you need power most. A simple, repeatable checklist makes winterizing your starter solar system approachable in any climate.
Putting it all together
Winter brings unique challenges, but targeted steps—prioritize battery temperature management, keep panels clean and correctly tilted for winter sun, and frost-proof wiring—will deliver steadier power through cold days. A brief weekly check covering battery temps, panel cleanliness, and wiring integrity keeps you on track.
Ready to take the next step? Start with a quick battery temperature check and a frost-clear session this weekend. A few small adjustments can stabilize production and extend your starter solar system’s lifespan through the season.