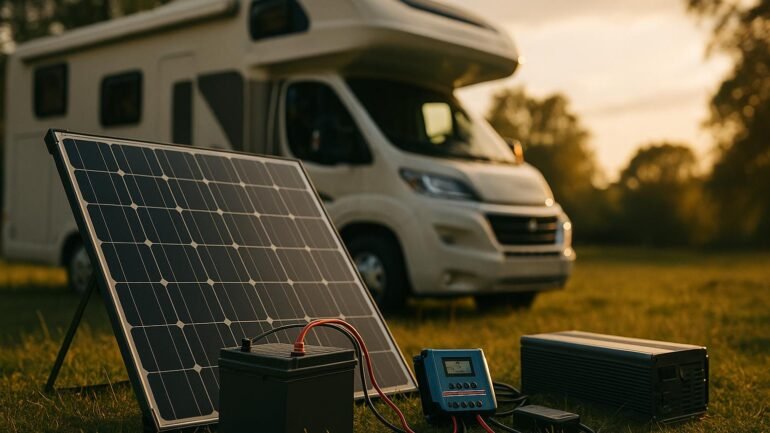
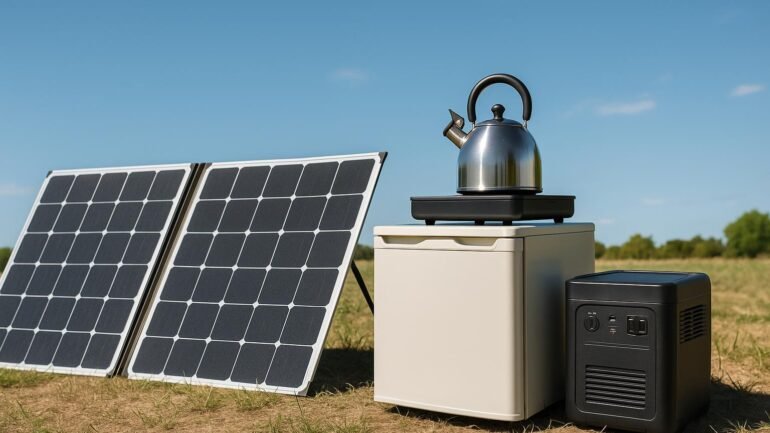
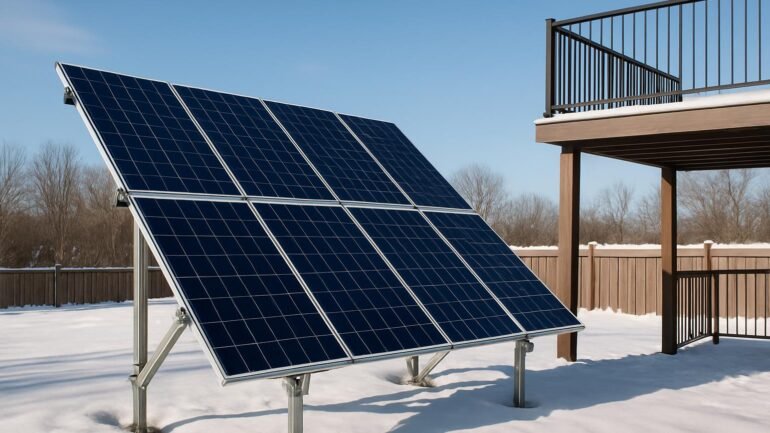
Designing a DIY RV or van solar system doesn’t have to be overwhelming. In one afternoon, you can estimate your daily energy use, convert it to watt-hours, and right-size your solar panels, battery bank, charge controller, and inverter. This guide compares MPPT vs PWM controllers, 12V vs 24V battery systems, and includes simple wiring diagrams, a parts list for common builds, and a printable sizing worksheet.
How to Use This Guide
We’ll work through four fast steps—loads, batteries, panels/controller, and inverter—then show wiring basics and parts. Keep a calculator handy.
- What you’ll learn: daily energy math, battery and solar sizing, MPPT vs PWM, 12V vs 24V, inverter selection, wire/fusing basics.
- What you’ll need: rough list of your devices, typical hours of use, and your travel region’s “peak sun hours.”
- Tip: Round up capacities. Real-world losses (heat, wiring, shading) eat margin.
Step 1 — Calculate Your Daily Energy Use
List each device, its watts, hours per day, and quantity. Multiply to get daily watt-hours (Wh).
- Find watts (W) on the label or manual. If you only have amps at 12V, use W = V × A.
- Daily Wh = Watts × Hours × Quantity × Duty Cycle (for cycling loads like fridges).
- Add everything to get your total daily Wh.
Example van-life day:
- 12V fridge: 45W × 8h (duty-cycled) = 360 Wh
- Lights: 15W × 4h = 60 Wh
- Fan: 24W × 8h = 192 Wh
- Water pump: 60W × 0.2h = 12 Wh
- Laptop: 60W × 3h = 180 Wh
- Phones: 10W × 2h × 2 = 40 Wh
Daily Total: ~844 Wh
Write your total down—it drives every other choice.
Step 2 — Size the Battery Bank
Battery capacity is your daily buffer. Compute needed storage using days of autonomy and allowable depth of discharge (DoD).
- Lithium (LiFePO4): Light, efficient, 80–90% usable (use 80% DoD in sizing).
- AGM/Lead-acid: Lower cost, heavier, limit to ~50% DoD for good life.
Formula: Battery Wh = Daily Wh × Days of Autonomy ÷ DoD
Convert Wh to amp-hours (Ah): Battery Ah = Battery Wh ÷ System Voltage
Using the 844 Wh example and 1.5 days autonomy:
- Lithium: 844 × 1.5 ÷ 0.8 ≈ 1,582 Wh → at 12V ≈ 132 Ah → choose ~150Ah LiFePO4.
- AGM: 844 × 1.5 ÷ 0.5 ≈ 2,532 Wh → at 12V ≈ 211 Ah → choose ~2 × 100Ah AGM.
12V vs 24V for batteries:
- 12V: Best for most vans and travel trailers under ~700W of solar and <100A DC loads. Directly feeds common 12V RV appliances.
- 24V: Great for larger arrays or longer wire runs. Cuts current in half, enabling smaller wires and cooler operation. Use a DC-DC buck converter to power 12V loads.
Step 3 — Size Your Solar Array and Charge Controller
Your array must replenish daily Wh, even with losses. Use local peak sun hours (PSH)—check a solar map or app for your region and season.
Rule of thumb: Array Watts = Daily Wh ÷ (PSH × 0.7)
The 0.7 factor accounts for real-world losses (temperature, wiring, dust, controller). Example with 4.5 PSH (many U.S. locations in summer):
844 Wh ÷ (4.5 × 0.7) ≈ 268W → round to 300–400W to allow cloudy days and shoulder seasons.
MPPT vs PWM Controllers
- PWM: Lower cost, best when panel voltage closely matches battery voltage and arrays are small (≤200–300W). Less efficient in cold or with higher-voltage panels.
- MPPT: Higher harvest, especially in cold weather or with series-wired, higher-voltage arrays. Ideal for 300W+ systems or shaded/variable conditions.
Controller amp rating: Estimate charge current as Array Watts ÷ Battery Voltage ÷ 0.95. For 400W into 12V: 400 ÷ 12 ÷ 0.95 ≈ 35A → choose a 40A MPPT. Alternatively, use panel Isc × 1.25 (and × string count for parallel) for a conservative fuse/controller pick.
Series vs parallel:
- Series: Higher voltage, lower current. Great for MPPT and long roof runs. Ensure the controller’s PV input voltage rating exceeds cold-weather Voc by at least 25%.
- Parallel: Lower voltage, higher current. More tolerant of partial shading. Requires larger gauge wires and a combiner/fuses.
Step 4 — Choose System Voltage and Inverter
Inverter type: Use a pure sine wave inverter for sensitive electronics and induction motors. Modified sine can cause heat and noise—skip it for RVs.
Size the inverter: Inverter Continuous Watts ≥ 1.25 × Max Simultaneous AC Watts. Check surge specs for tools/blenders/microwaves.
Example: Laptop (60W) + blender (600W) → 660W × 1.25 ≈ 825W → choose ~1,000W inverter. If you run a microwave (1,000W), you may want a 1,500–2,000W inverter.
Understand DC current draw: I (battery) ≈ AC Watts ÷ (Battery Volts × Inverter Efficiency)
At 12V, 1,000W ÷ (12 × 0.9) ≈ 93A. That’s heavy current—size wires and fuses appropriately and consider 24V for big inverters.
Wiring Diagrams, Wire, and Fusing Basics
These simple diagrams show typical layouts. Always follow component manuals and local codes.
12V RV/Van (MPPT, 12V battery, 12V loads + 120V inverter)

[Panels] --PV disconnect--> [MPPT CC] --Fuse--> [Bus/Battery Switch] --Main Fuse--> [12V LiFePO4]
                                                   |                                  |
                                                   |                                  +--> [Shunt] --> Chassis Ground
                                                   +--> [12V Fuse Block] --> Lights/Fan/Fridge (12V)
                                                   +--> [Inverter 12V DC] --AC Breaker--> Outlets

Notes:
- PV side: fuse/breaker sized 1.25× Isc per parallel string.
- Battery main fuse near battery (e.g., Class T/ANL) at 1.25× max expected current.
- Use bus bars for clean distribution.
24V RV/Trailer (MPPT, 24V bank, 12V DC-DC for RV loads)

[Panels in Series] --PV disconnect--> [MPPT CC] --Fuse--> [24V Battery Switch] --Main Fuse--> [24V LiFePO4]
                                                              |
                                                              +--> [DC-DC Buck 24V->12V] --> 12V Fuse Block
                                                              +--> [Inverter 24V DC] --AC Breaker--> Outlets

Notes:
- Higher voltage reduces current; wire runs can be smaller for same power.
- Verify controller PV Voc limit vs coldest-day Voc of panel string.
Wire sizing: Target ≤3% voltage drop on DC runs. Heavier loads (inverter, fridge) and longer distances need thicker wire (lower AWG). Use a marine-grade wire chart and calculate with actual current and one-way length × 2.
Fusing & protection:
- Fuse within 7–12 inches of the battery positive on every high-current feed.
- PV strings in parallel: fuse each string to panel Isc × 1.25 unless the module datasheet says otherwise.
- Include battery switch/disconnects, proper lugs, and strain relief. Bond grounds per device manuals.
Parts List and Printable Worksheet
Use these common configurations as starting points (brands are interchangeable—match specs).
Budget Van/Small Trailer (12V, ~200–300W)
- Solar: 2–3 × 100W rigid panels (parallel or 2S for MPPT)
- Controller: 20–30A MPPT (or PWM for ≤200W with 12V panels)
- Battery: 100–200Ah AGM or 100–150Ah LiFePO4
- Inverter: 600–1,000W pure sine
- Balance of system: PV combiner/fuses, main battery fuse, 12V fuse block, bus bars, 8–4 AWG battery cables (as needed), 10–12 AWG PV wiring
All-Season Van/Trailer (12V, ~400W)
- Solar: 2 × 200W or 4 × 100W (series-parallel)
- Controller: 40A MPPT
- Battery: ~150Ah LiFePO4 (or 200–220Ah AGM)
- Inverter: 1,000–1,500W pure sine
- Balance of system: appropriately sized fuses/breakers, 4–2 AWG battery cables
Large Trailer/Family Rig (24V, ~600–800W)
- Solar: 3–4 × 200W in series-parallel
- Controller: 60–80A MPPT (24V output)
- Battery: ~200Ah at 24V LiFePO4 (≈5 kWh)
- Inverter: 2,000W pure sine (24V)
- DC loads: 24V→12V buck converter feeding a 12V fuse block
Printable Sizing Worksheet
| Device | Watts | Hours/day | Qty | Duty Cycle | Wh/day |
|---|---|---|---|---|---|
| 12V Fridge | 45 | 8 | 1 | 0.5–0.4 | 360 |
| Lights | 15 | 4 | 1 | 1.0 | 60 |
| Fan | 24 | 8 | 1 | 1.0 | 192 |
| Laptop | 60 | 3 | 1 | 1.0 | 180 |
| Phones | 10 | 2 | 2 | 1.0 | 40 |
| Other | |||||
| Total Daily Wh | |||||
Battery Ah = (Total Daily Wh × Autonomy ÷ DoD) ÷ System Volts. Array Watts ≈ Daily Wh ÷ (PSH × 0.7).
Key Takeaways
- Add up your daily Wh first—everything else flows from this number.
- For most vans: 300–400W solar + 100–150Ah LiFePO4 + 40A MPPT + 1,000W inverter is a solid starting point.
- Choose 24V if your array is ≥600W or your AC loads are heavy—it cuts current and wire size.
- MPPT beats PWM on efficiency and flexibility, especially with series panels and cold temps.
- Fuse close to the battery, size wires for ≤3% voltage drop, and always round up capacity.
Conclusion: With a quick watt-hour tally, a few simple formulas, and conservative rounding, you can confidently right-size an off-grid RV solar and battery system in a single afternoon. Save your worksheet, match parts to the specs you calculated, and enjoy quiet, reliable power wherever the road leads.


