A No-Fuss Small-Scale Solar Backup Plan
Keeping a home office running during a power outage doesn’t have to be complicated or expensive. This guide shows a simple, small-scale solar backup plan you can assemble in a weekend and grow over time.
Size your load to fit a small system
Start with the essentials: think about what you actually need to power during an outage. A laptop, Wi-Fi router, monitor, a small desk lamp, and a modem often cover most remote-work tasks. Use the quick load checklist below to estimate wattage and runtime.
- Laptop charger: ~60W
- Wi-Fi router: 10-15W
- External monitor (optional): 20-25W
- Desk lamp (LED): 6-9W
- Modem: 10-15W
- External hard drive (optional): 5W
Example calculation: If you expect 6 hours of outage, total load ≈ 125W. Energy needed = 125W x 6h = 750Wh. Add ~20% for inverter losses: ~900Wh. For a 12V system, that means about 75Ah of usable capacity; pick a battery in the 80-100Ah range to keep a comfortable margin.
Plan the hardware: budget-friendly picks
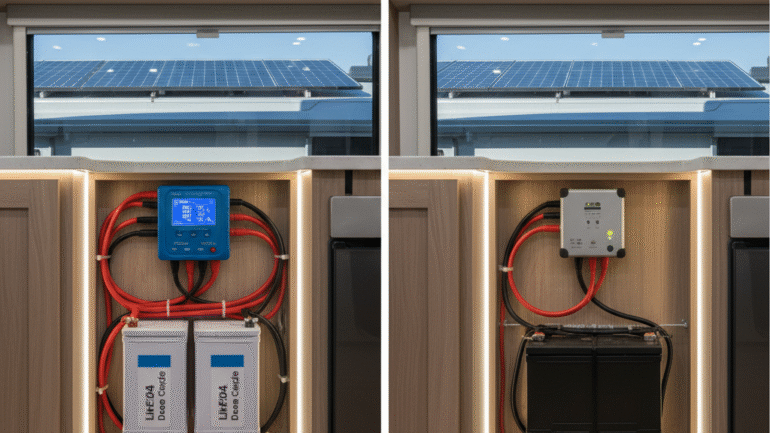
Idea: A single 100-120W solar panel, a small PWM or MPPT controller, a 12V deep-cycle battery (AGM or LiFePO4), and a compact inverter (300-600W) will run the basics. You can start with a basic, budget-friendly kit and scale up later.
- Solar panel: 100-120W panel
- Charge controller: PWM 12V or entry-level MPPT
- Battery: 12V 40-100Ah (AGM or LiFePO4)
- Inverter: 300-600W with surge
Tip: Start small and verify runtime with your actual loads. Use a simple power bar to switch off nonessential devices when the battery gets low.
Deployment steps
- Place the panel in a sunny spot and route cables to a weatherproof location.
- Connect panel to the charge controller, then to the battery, and finally to the inverter feeding the outlets you will use.
- Fuse and protect all connections, and keep a clear mind to avoid discharging a lead-acid battery below 50% for long life.
- Test with your essential devices for an hour or two to confirm the setup handles your workload.
Safety and maintenance
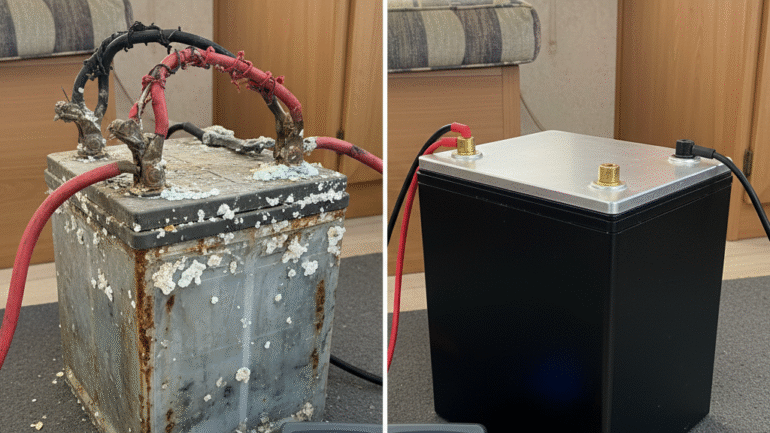
Safety first: use proper fusing, weatherproof enclosures, and correctly sized wiring. Keep batteries in a ventilated area and away from heat. Check electrolyte levels for lead-acid or battery management settings for LiFePO4. Regularly inspect cables for wear and clean any corrosion on terminals.
Practical checklist
- Define essential devices (laptop, router, monitor)
- List wattages and estimate runtime
- Choose a compact kit (panel, controller, battery, inverter)
- Install in a safe, ventilated space
- Run a test outage to confirm timing
Starting small is the safest path – you can expand the system later as your needs grow.