Reading Solar Specs Made Simple: What You Need to Know
Reading solar specs doesn’t have to be intimidating. This practical guide translates panels, controllers, and batteries into DIY-friendly steps so you can compare gear, size your system, and avoid common pitfalls—whether you’re wiring a home off-grid setup or outfitting an RV rig. If you’re learning how to read solar specs, you’ll gain confidence to pick the right components and build with certainty.
Key terms you’ll encounter on panels, controllers, and batteries
- Pmax (Rated power): maximum power under standard test conditions, in watts (W) — rough energy potential at peak sun.
- Vmp (Voltage at maximum power): panel voltage at max power, used to match to battery banks and controllers.
- Voc (Open-circuit voltage): panel voltage with no load; informs worst-case voltage your wiring and controller must tolerate.
- Imp (Current at maximum power): current at Vmp; guides fuse sizing and wiring ampacity for series/parallel configurations.
- Isc (Short-circuit current): max current from the panel; use for safety margins in wiring and controller input ratings.
- Efficiency and temperature coefficients: efficiency shows sun-to-electric conversion; temp coefficients show performance shifts with heat or cold.
- Tolerance and certifications: Pmax tolerance ensures predictable performance; certifications indicate safety; DIY builders should prioritize reputable brands.
Tip: When sizing a system, you’ll often use Pmax, Vmp, and Imp to estimate energy production, and Voc to ensure the string voltage won’t exceed the controller’s input, especially in cold weather.
Panel specs decoded: Pmax, Vmp, Voc, Imp, Isc
Panels carry several key numbers on the datasheet and label. Here are the essentials you’ll actually rely on in a DIY install:
- Pmax (Rated power)
- Vmp (Voltage at maximum power)
- Voc (Open-circuit voltage)
- Imp (Current at maximum power)
- Isc (Short-circuit current)
- Efficiency and temperature coefficients
- Tolerance and certifications
Practical takeaway: use Pmax, Vmp, and Imp to estimate daily energy; watch Voc for cold-weather suitability; plan with a modest safety margin for losses and derate.
How to read panel datasheets and what to prioritize for DIY
- Determine array configuration (series/parallel) based on Vmp, Voc, and the controller’s voltage rating.
- Check allowed Voc at extreme cold in your location; ensure your controller’s max input voltage is higher than this value.
- Ensure Imp and Isc align with fusing and wiring ampacity; include a safety margin.
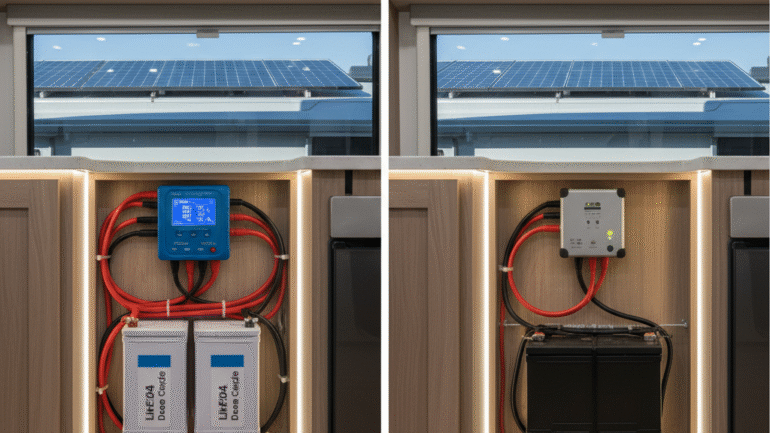
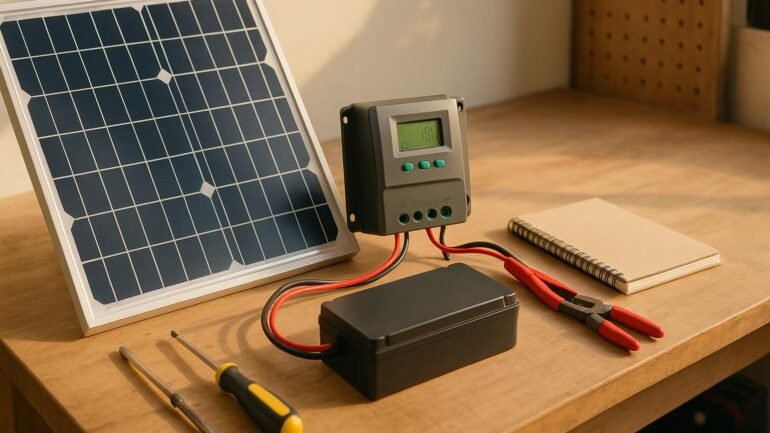
Controller specs decoded: MPPT vs PWM, voltage, and current
Matching controller rating to your panel array and battery
Charge controllers regulate how the solar array charges the battery bank. The two main types are PWM (simpler) and MPPT (more efficient). Here’s how to pick:
- Rated current (amps): maximum current the controller can handle from the panels. Choose a rating above the Imp of your panel string, with a comfortable margin.
- MPPT vs PWM: MPPT converts excess voltage into additional current, often recovering more energy from panels, especially when panel voltage is higher and/or temperatures vary. PWM is cheaper but less efficient, particularly for larger arrays or varying conditions.
- Battery charging profile and voltages: Controllers set bulk/absorption/float voltages and must match your battery chemistry (lead-acid, Li-ion, etc.) and system voltage (12/24/48V).
- Temperature compensation: Some controllers adjust charging voltages with ambient temperature to protect batteries in extremes.
- Input considerations: Verify the controller’s max input voltage (Voc tolerance) to cover cold-weather Voc increases from your panels.
Practical takeaway: MPPT controllers are worth considering for multi-panel setups or higher-voltage strings. Always size the controller to the worst-case panel current in your configuration.
When choosing a controller, ensure it supports your battery voltage and chemistry, offers temperature compensation if outdoors, and has an input rating that accommodates your planned array.
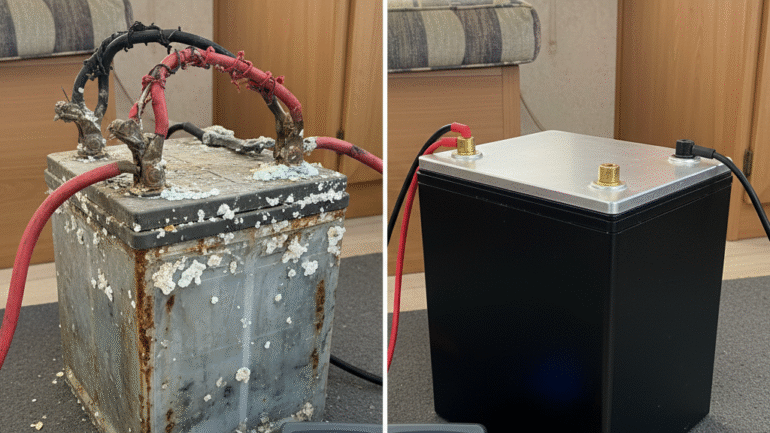
Battery specs decoded: Ah, voltage, chemistry, C-rates
Choosing the right battery for home vs RV setups
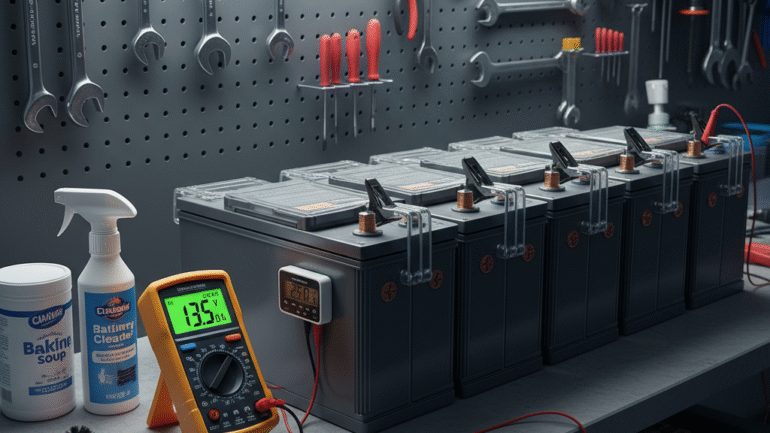
Batteries store the energy you collect, so their specs determine usable energy and run-time. Key terms:
- Capacity (Ah or Wh): Usable energy at a given system voltage (Ah) or energy stored (Wh).
- Nominal voltage: Common options are 12V, 24V, or 48V. Higher voltages reduce current, easing wiring and heat loss.
- Depth of discharge (DOD) and recommended DoD: Lower DoD extends battery life. Lead-acid often targeted near 50% DoD; Li-ion can handle deeper DoD but benefits from conservatism.
- C-rate: Discharge/charge rate expressed in C. Higher C-rate enables faster charging and discharging but adds cost and size considerations.
- Charging voltage and temperature compensation: Chemistry-specific charging voltages; temperature compensation helps avoid over/undercharging in extremes.
Bottom line: Size the bank to meet typical daily use, with a buffer for days with low sun. A simple DIY approach is to target a few days of autonomy at a reasonable DoD, then select components that perform reliably under your climate.
Putting it together: a quick comparison checklist
Example scenarios and quick math exercises
Use these steps to convert numbers into a build plan:
- Estimate daily energy use (Wh) by listing and summing device consumption plus startup surges.
- Choose a system voltage (12V/24V/48V).
- Plan sun hours for your location and season.
- Calculate required panel wattage: daily Wh ÷ sun hours ≈ required watts; add 20–30% for losses.
- Pick panels whose combined Pmax meets or exceeds the calculated watts; ensure Vmp aligns with system voltage.
- Choose a controller with rating above your panel current; prefer MPPT for larger arrays or higher voltage strings.
- Size the battery bank for autonomy and DoD: usable energy = Ah × system voltage; pick Ah to meet daily use and desired autonomy.
- Wire with appropriate gauge and fuses; minimize run lengths and ensure safe connections.
- Test in real-world conditions and adjust; document performance for future upgrades.
Common pitfalls to avoid and quick sanity checks
- Undersizing the battery bank for autonomy or underestimating the load.
- Ignoring wiring losses or mis-sizing cables and fuses.
- Choosing a controller that can’t handle peak panel current or voltage.
- Overlooking temperature and seasonal variations; plan with a practical safety margin.
Quick reference cheat sheet for reading solar specs
Keep this handy checklist as you compare gear:
- Panel: Pmax, Vmp, Voc, Imp. Ensure Voc won’t exceed the controller input in cold weather. Include a safety margin for losses.
- Controller: Prefer MPPT when possible; verify amp rating is above string current. Confirm compatibility with your battery voltage/chemistry. Look for temperature compensation outdoors.
- Battery: Size by energy needs (Wh) and autonomy; decide on DoD and select a voltage that matches your loads and controller. Consider C-rate for fast charging needs.
- System losses: Add a 10–30% cushion for wiring, connectors, dirt, and temperature losses.
- Safety: Calculate fuse sizes and use proper gauge wiring. Follow local electrical codes and labeling.
Practical steps to read solar specs for your project
- List daily energy needs in Wh.
- Decide on system voltage (12V, 24V, or 48V).
- Estimate sun hours for your location, noting seasonal variation.
- Calculate required panel wattage: daily Wh ÷ sun hours ≈ required watts; add 20–30% for losses.
- Choose panels with a combined Pmax that meets or exceeds the calculated watts. Check Vmp to ensure it matches the system voltage.
- Pick a controller rated above your panel current and compatible with your battery voltage/chemistry; MPPT is preferable for larger arrays.
- Size the battery bank for autonomy and DoD: Ah × system voltage gives usable Wh; plan accordingly.
- Wire with proper gauges and fuses; double-check component ratings.
- Test under real conditions and iterate; document performance for future upgrades.
Example scenario: reading specs for an RV off-grid rig
Let’s walk through a practical RV example: about 2,000 Wh/day and roughly 4–5 sun hours per day in the travel season. A 24V Li-ion setup is preferred for longevity and efficiency.
- Panels: 2000 Wh ÷ 4.5 h ≈ 445 W. Plan for 600–800 W of solar to cover daily use and losses (e.g., two 320 W panels in parallel or a 600–760 W kit).
- Controller: MPPT with at least 60–70 A input if two panels run in parallel; ensure compatibility with 24V Li-ion and includes temp compensation.
- Battery: For 2 days of autonomy at 2,000 Wh/day, target roughly 8,000 Wh usable. At 24V, ~333 Ah usable. If using Li-ion with ~80% usable DoD, you’ll need ~416 Ah total. A practical setup: 24V, 400–600 Ah Li-ion bank.
- Wiring and safety: Plan appropriate fuses and cable sizes; keep distances short and connections robust.
Wrapping up: reading solar specs with confidence
Reading solar specs isn’t a mystery protocol reserved for engineers. It’s a practical, methodical way to ensure your DIY project delivers the energy you expect. By understanding the essentials for panels, controllers, and batteries, you can compare gear effectively, size your system accurately, and avoid common pitfalls.
Remember to start with your daily energy needs, pick a system voltage that suits your wiring, and then size the solar array and storage to meet those goals with a safety margin. Use MPPT controllers where it makes sense, pay attention to temperature effects, and always double-check voltage and current ratings against your planned configuration.
With the steps and tips above, you’ll be able to navigate product specs confidently and assemble a solar setup that powers your home or RV reliably—without the guesswork.