From Unbox to Outage: Why a Tiny Backup Makes Sense for Beginners
As a beginner’s solar power guide, the Miller family’s outage drill shows how sizing, safe setup, and practical steps come together in a tiny solar backup for home and RV. This friendly story translates essential safety checks, essential-load budgeting, and troubleshooting into actionable steps that build confidence in a small, reliable power reserve you can deploy in minutes.
The Family Setup: What We Bought, Who Did What, and How We Sized It
Components and sizing decisions
- One portable battery (LiFePO4 or similar)
- A small charge controller with simple indicators
- One compact inverter suitable for AC loads
- One or two solar panels with mounting hardware
- Cables, fuses, and a basic safety plan
Short, practical sizing and budgeting kept the project approachable. The family focused on an essential-load target that covers what matters most without overbuilding. This is the core idea behind a tiny solar backup system for home use and for RV living.
Sizing and budgeting: essential-load budgeting
Know what you will power during an outage. Start with essentials and estimate energy use, then verify what fits into the kit’s capacity.
- WiFi router and modem
- Phones and tablets for charging
- LED lighting for several rooms or a couple of lanterns
- A small bedside fan or a compact portable cooler (short runtimes)
- A basic laptop or tablet for communication or work
Estimate energy with a simple calculation: check each device’s wattage, estimate hours of use, and sum to get total watt-hours per day. The Miller family found a target under 200–300Wh per day works well for many tiny backups.
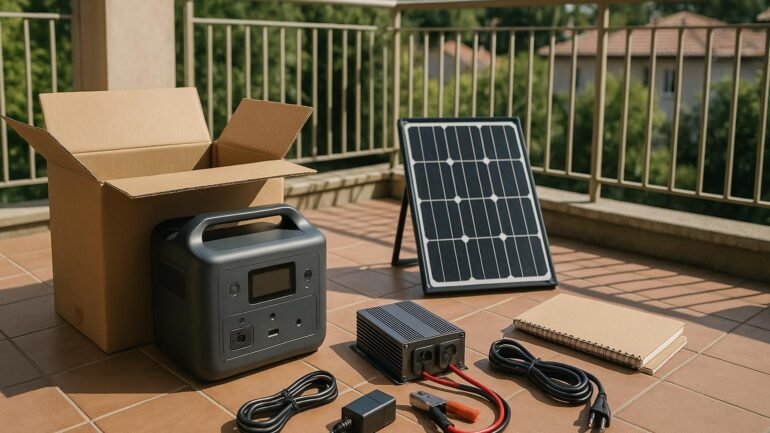
Unbox moment: what’s in the kit
The unbox ritual is both practical and educational. The kit includes a compact, all-in-one package and a small balcony-friendly solar panel.
- One portable battery
- One small charge controller with indicators
- One compact inverter for AC loads
- One or two solar panels with mounting hardware
- Cables, fuses, and a basic user guide
- Safety accessories (gloves, eye protection, and a fire-safe area)
Reading the manual together helps reinforce that this tiny solar backup is a learning tool as well as a power source.
Step-by-step setup: safe and simple
Setup is a small, repeatable ritual. The steps below are beginner-friendly and can be completed in about an hour.
- Choose a sunny, sheltered location for the panel with a clear sun path.
- Connect the panel to the charge controller following the color signs and the manual.
- Connect the battery to the controller, verify polarity, and secure connections.
- Link the inverter to the battery, then power essential devices through the inverter outlets or a DC-DC path for USB devices.
- Turn on the system and check indicators. If warning lights appear, consult the quick-start guide.
- Do a lightweight test: power a small lamp or router for a few minutes to confirm smooth operation.
Throughout, the family followed basic safety rules: dry hands, dry surfaces, and never working on live circuits. They documented connections in a notebook to track progress and build confidence.
Preparing for a Real Outage: Safety, Setup, and First Power-On
With safety at the fore, the setup stays simple and repeatable so anyone can follow along. The first power-on milestone shows the kit behaving as expected before a full outage test.
Step-by-step installation basics for home and RV
- Set up the panel where it catches the most sun through the day.
- Wire the panel to the charge controller per the manual.
- Attach the battery and verify connections.
- Connect the inverter and power a few essential devices to confirm operation.
Keeping the work area dry and secure reduces risk and helps beginners learn safely. Documentation helps you replicate the setup later for RV use or future upgrades.
The Outage Test: Results, Surprises, and Adjustments
What worked, what didn’t, and how we adjusted
The outage arrived on a windy afternoon. The tiny solar backup powered the router, a few lights, and phone charging while the family adapted to a calmer routine.
- Turn on only essential devices to maximize runtime.
- Monitor energy use with the kit indicators or a simple notebook log.
- Keep the panel oriented toward the sun as the day progresses to maintain charging opportunities.
The pantry light, a small fan, and streaming-capable tablets ran with minimal disruption, validating the approach for beginner friendly solar power for DIY homes and RVs.
Safety checks for the duration of use
- Inspect connections for heat or looseness; power down if anything feels warm.
- Keep cords organized and away from foot traffic to prevent trips.
- Never block battery ventilation; ensure adequate air flow.
- Check the battery state of charge before dark to avoid deeply discharging.
Troubleshooting quick hits
- If the inverter won’t power devices, recheck battery connections and verify panel charging.
- If charging is slow, ensure battery is not below a safe minimum and the panel receives adequate light.
- If the system won’t hold a charge overnight, verify fuse placement and look for loose cables.
- Consult the kit guide or beginner-friendly video tutorials for model-specific help.
Maintenance and future-proofing
- Inspect cables for wear and secure connections regularly.
- Keep the battery at a healthy state of charge to extend life.
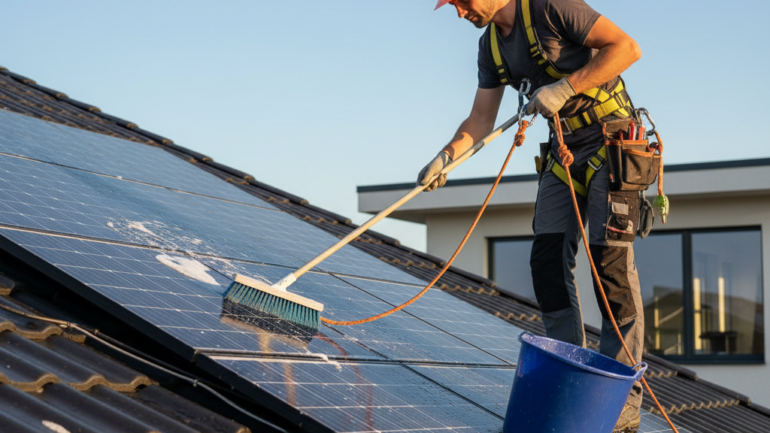
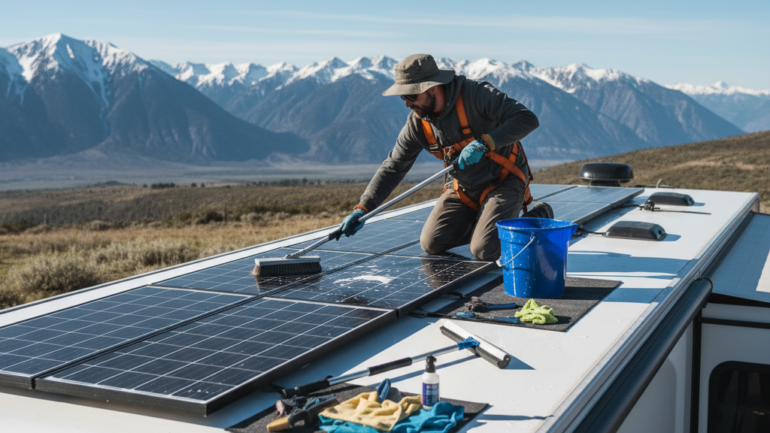
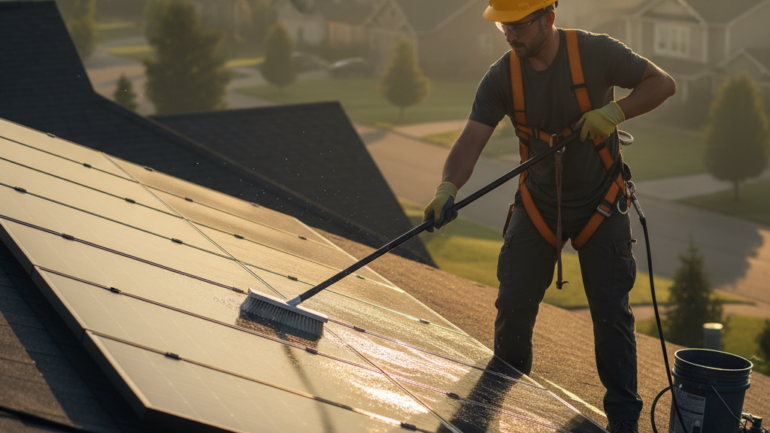
- Clean solar panel surfaces to maximize sun capture.
- Track usage and battery health to guide upgrades.
Expansion is deliberate, not rushed. Start with a tiny solar backup and scale step by step as you gain confidence and budget allows.
Real-world takeaways for beginners
- Keep expectations focused on essential loads, not a full house backup.
- Use safe, repeatable steps you can perform with basic tools.
- Practice a simple outage drill, then refine your process for next time.
- Document energy use and battery health with a notebook or simple spreadsheet.
With real-world experience, a tiny solar backup becomes a tangible habit rather than a vague idea — giving you practical power when the lights go out.
Practical Takeaways for DIY Beginners
- Start small, stay safe, and learn by doing with a beginner-friendly solar kit.
- Build a repeatable routine for setup, testing, and maintenance.
- Use the outage drill to guide future upgrades for home or RV use.
- Keep notes to track battery health and system performance over time.
If you’re curious about trying this, start with a small kit, follow the safety checks, and practice the setup steps a few times before the next outage. You’ll gain hands-on knowledge, confidence, and a reliable tiny solar backup that helps your family weather the next blackout with less stress and more peace of mind.