Why build a portable solar backup station this summer?
Summer is ideal for a weekend project that doubles as real-world power security for camping trips and emergencies. A handheld solar backup station provides quiet, fuel-free power that’s easy to transport, weather-tough, and capable of meeting everyday needs. Whether you’re new to portable power or upgrading an existing kit, a focused two-day build is practical, rewarding, and approachable.
With longer daylight hours and frequent outdoor gatherings, you gain hands-on confidence while ending up with a reliable device you can depend on when you truly need it. The goal is simple: a compact, reliable source of 12V and USB power to keep phones charged, lights on, a small fan running, and essential gear powered. This guide walks you through sizing for summer use, selecting robust components, wiring safely, and testing in real-world conditions. It also covers practical use cases, maintenance tips, and ideas for scaling the system for longer trips.
Planning your build: capacity, form factor, and components
Determine your power needs (loads, runtimes)
Start with a quick load assessment and a realistic usage window. Think about what you’ll run at the campsite or during an outage and add a safety margin for less predictable sun.
- Energy needs (Wh) = device watts × hours of use
- Battery capacity (Wh) = voltage × Ah (for a 12V pack, Wh = 12 × Ah)
- Solar input (W) × sun-hours per day ≈ daily energy generation
Example planning for a typical summer day:
- Common loads: phone 10W, tablet/laptop 30–60W for charging, LED lights 5–10W, small USB devices, fan 6–12W
- To run a 40W cooler for 6 hours: 240Wh
- With a 60W panel and 4–5 peak sun hours: 240–300Wh generated daily
- Factor in 20–40% losses for wiring and controller efficiency
Practical target: 400–600Wh of usable daily energy with a margin for overhead. For weekend use, a 12V LiFePO4 battery in the 20–40Ah range (240–480Wh) is a solid, safe choice. Pair it with an MPPT charger sized for your panel (10–20A). If you expect longer trips, plan for a larger bank or additional panels.
Choosing components (solar panel, battery, controller, inverter, wiring)
Build a safe, portable system by selecting robust components and sensible protection.
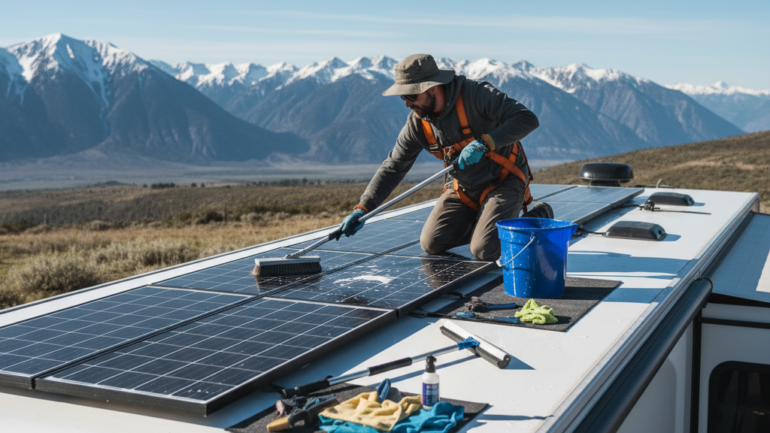
- Core components: foldable 60–100W solar panel, 12V LiFePO4 battery 20–40Ah (240–480Wh), MPPT charger 10–20A
- Outputs: 12V outlets and USB-C/USB-A ports; optional 300W inverter for small AC devices
- Protection: fuses or circuit breakers near the battery; a weatherproof enclosure; appropriate cable gauges (AWG 12–14 for higher currents); robust connectors (Anderson Powerpole)
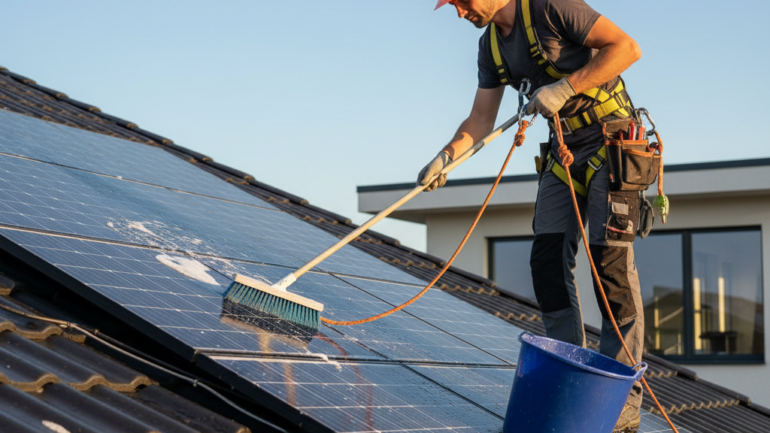
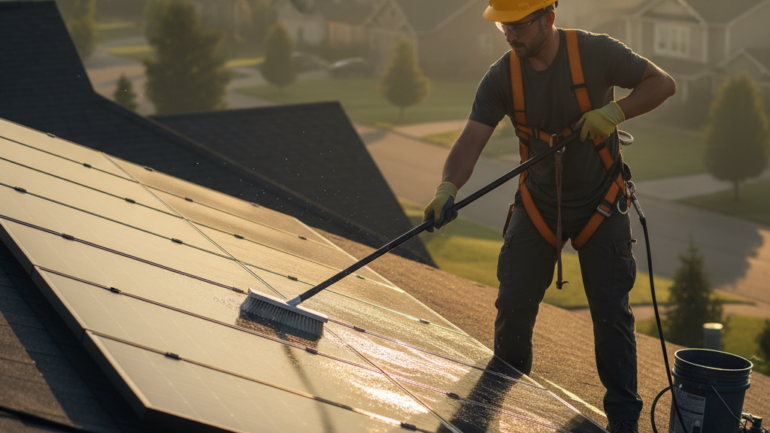
- Enclosure: rugged, weather-resistant box with internal mounting and sealing
Two-day plan (high level)
- Day 1: assemble the enclosure, mount panel and battery, run the main DC bus, and install the MPPT with a fused connection near the battery
- Day 2: add outputs, wire the inverter if used, seal the enclosure, and perform safety checks and a dry run
The 48-hour build plan (Day 1 and Day 2)
Day 1: Assemble the battery bank and mount core electronics
Lay out the enclosure, mount the battery, panel, and main DC bus. Install the MPPT charger and protection near the battery. Keep wiring neat and accessible for future upgrades.
Day 2: Wiring, enclosure, safety, and testing
Finish wiring outputs (12V and USB), connect the optional inverter, seal all openings, and run a practical safety check and dry run in sunlight.
Safety, testing, and refinements
Safety considerations (fusing, protection, thermal management)
Fuse close to the battery, use proper protection for DC loads, and manage heat with ventilation and weather seals. Keep all wiring tidy and labeled.
Testing procedures (voltage, capacity, load)
Test indoors for baseline outputs, then outdoors in sun. Check battery voltage, panel input, and actual runtime under a representative load. Record results to refine sizing for future trips.