From Zero to Sun: A Step-by-Step DIY Solar Plan for Beginners
Overwhelmed by solar? This beginner-friendly guide breaks solar power into practical steps you can act on this season. It’s designed for DIY homeowners and RV owners who want a straightforward path—from understanding your energy needs to sizing a starter system and getting it running safely. Think of this as a compass, not a cathedral: you’ll learn the essentials, use simple formulas, and build a system you can grow.
Why solar power for beginners
- It puts you in control of your energy: you decide how and when to use sunlight to run essential devices.
- It’s scalable. Start small with a starter kit and grow as you learn, without needing a huge upfront investment.
- It’s quiet and clean—no fumes, minimal maintenance, and no ongoing fuel costs.
- It helps you understand daily consumption. Tracking usage becomes a habit you can apply to any energy-planning project.
- It’s accessible. With plug-and-play and consumer-friendly components, you don’t have to be an electrical engineer to get started.
What you’ll gain from this plan
- A practical understanding of how solar works, from panels to power storage.
- Simple formulas you can apply to size a starter system without guesswork.
- A concrete, step-by-step path to get a working setup running this season.
- Realistic expectations about performance, daylight variations, and battery behavior.
- The confidence to maintain what you install and plan for safe expansion later.
How to use this guide
- Assess your energy usage: Start with a simple inventory of what you actually run daily. Treat this season as a learning period, not a perfect forecast.
- Measure daily energy in watt-hours (Wh): multiply each device’s watt rating by the hours it runs per day, then add them up.
- Size a starter system: pick a panel size and basic battery setup that covers your day’s needs with a cushion for cloudy days.
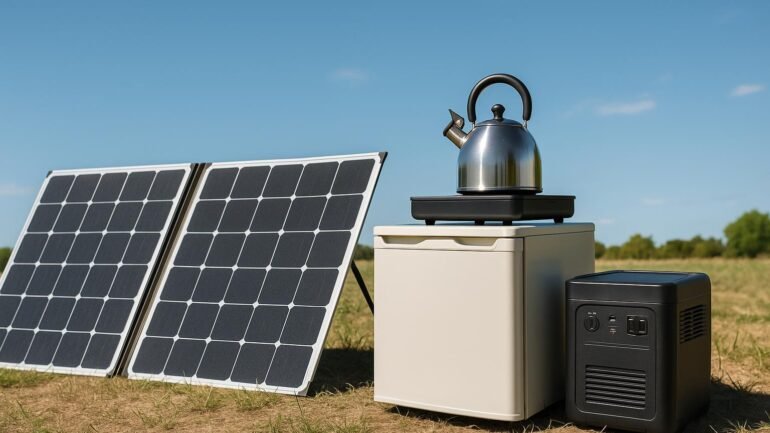
- Learn the core components: solar panels, a charge controller, an inverter, a battery bank, and the wiring with fuses and disconnects.
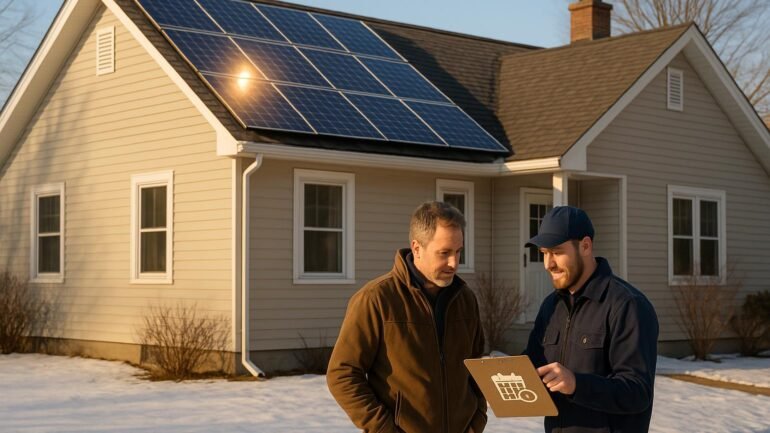
- Plan a safe, phased installation: start with portable or ground-mounted options if roof work feels risky. If you’ll go on the roof, follow safety guidelines and permit requirements.
- Start and maintain: put your plan into action, monitor performance, and schedule regular checks to keep everything running smoothly.
Quick safety and readiness tips
- Treat every AC wiring task with care, especially if you’ll tie into the home grid. When in doubt, hire an electrician for the AC portion or any mains work.
- Work safely: insulated tools, gloves, and dry conditions when handling electrical connections.
- Read and follow product manuals. Brands vary in wiring or mounting requirements.
- Check local codes and permits. A simple permit can prevent headaches if you ever expand or connect to the grid.
- Don’t climb on a roof in extreme heat or after rain. If you’re uncomfortable with roof work, start with a portable or ground-mounted setup.
- Consider a plug-and-play starter kit for your first foray to minimize roof work and test viability before committing to a permanent install.
Step 1: Assess your energy needs and set goals for home or RV
Define what you want to power daily and where you’ll use solar—main home, RV, cabin, or portable backup. Create a short list of essential loads and a rough daily energy target.
Understanding daily energy use and sun exposure
Estimate typical daily consumption in watt-hours (Wh) and consider sun hours for your location. This helps you size a starter system with sensible headroom.
Defining project scope: home, RV, or portable backup
Choose your focus: fixed rooftop, mobile RV, or portable kit. Your scope guides panel type, mounting, and wiring choices.
Step 2: Core components you need to know
Panels, charge controller, inverter, and battery basics
Understand how panels generate power, how a charge controller protects batteries, the role of an inverter, and how a battery bank stores energy. We’ll also touch on solar battery sizing for beginners so you can plan confidently.
Wiring, safety, and essential tools
Gather common tools, fuses, disconnects, and PPE. Follow manufacturer instructions and local codes to keep everything safe and reliable.
Step 3: Sizing and planning your starter system
Calculating daily energy consumption
Sum the Wh for each device you plan to run. If you’re wondering how to size a solar panel system, use this practical method to forecast a realistic load and cushion for variability.
Determining panel count and battery capacity
Choose panel wattage and the number of panels to meet daily energy needs with some allowance for cloudy days. Select a battery bank with usable capacity that fits your budget and space.
Step 4: Budget-friendly installation and setup
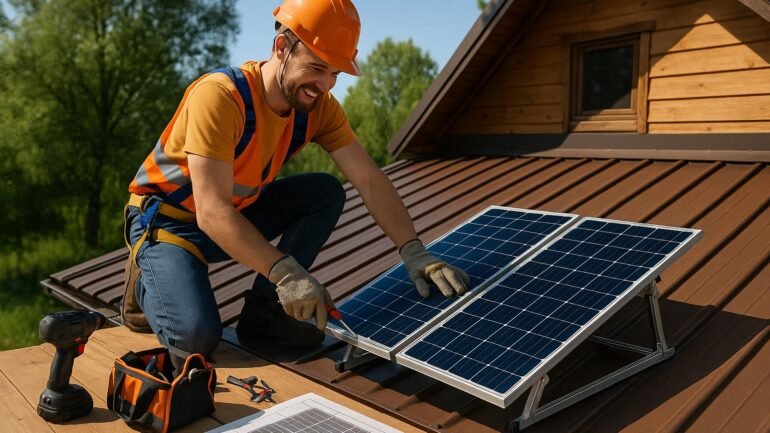
Wiring diagrams, safety tips, and mounting options
Start with simple layouts. Use clear diagrams, label connections, and pick mounting that matches your roof or ground space. Always follow safety guidelines and local codes.
Step 5: Operating, maintenance, and expansion paths
Basic maintenance routine
Schedule regular inspections, keep components clean, monitor performance, and document changes to plan future upgrades.
Next steps and where to learn more
Keep learning with reputable guides, manufacturer manuals, and hands-on practice. Use this plan as a repeatable framework you can grow season by season.